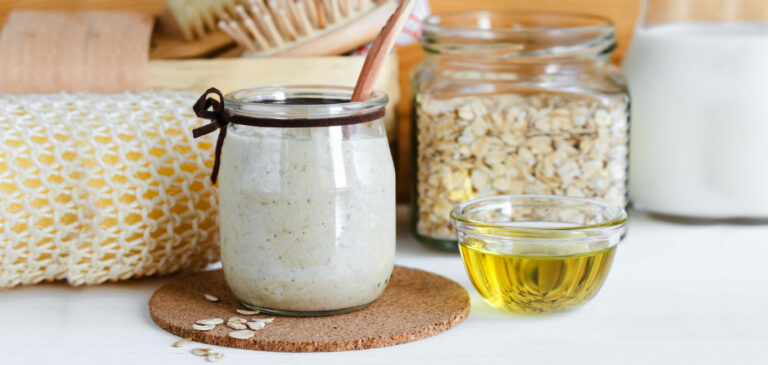
In the quest for radiant, youthful skin, many of us turn to facials. Among the myriad of beauty treatments, facial masks have secured a pivotal role. They promise to detoxify, hydrate, and rejuvenate our skin. However, frequent visits to the spa can become pricey, and commercial face masks often come with a long list of mysterious ingredients. The solution? Homemade facial masks.
The Beauty of Homemade Masks
Making your own facial masks at home is not only cost-effective but also empowering, as you get complete control over what you’re putting on your skin. With just a few kitchen staples, you can whip up a mask that rivals the cocktails of nutrients professionals use.
Here are some benefits of homemade facial masks:
- Natural Ingredients: You know exactly what you are applying, which reduces the risk of allergic reactions and chemical exposure.
- Freshness: Homemade masks are made to be used immediately, so there’s no need for preservatives.
- Customizable: You can adjust the ingredients to suit your skin’s unique needs.
- Relaxing: The process of making and applying a mask can be a therapeutic ritual.
Ingredients to Have On Hand
Before crafting your own facial creation, stock your pantry with some skin-loving ingredients. Here are some to consider:
- Honey: Natural antibacterial and humectant that helps retain moisture.
- Avocado: Rich in healthy fats, vitamins, and minerals, excellent for moisturizing.
- Oatmeal: Soothes and reduces inflammation, great for sensitive skin.
- Yogurt: Contains lactic acid, which exfoliates and smooths the skin.
- Egg Whites: Can tighten pores and lift the skin temporarily.
- Aloe Vera: Healing and anti-inflammatory, good for irritated or sunburned skin.
- Lemon Juice: Brightens and can help lighten dark spots (use with caution).
- Turmeric: Reduces pigmentation and has anti-inflammatory properties.
Tips for Crafting the Perfect Mask
Before you start mashing and mixing, here are some tips to maximize the effectiveness of your homemade facial masks:
Understand Your Skin Type
Different skin types require different ingredients. For oily or acne-prone skin, clay or charcoal could help absorb excess oil. For dry or sensitive skin, ingredients like avocado or yogurt are more beneficial.
Test for Allergies
Always conduct a patch test before using a new ingredient on your face. Apply a small amount to your inner arm and wait 24-48 hours to see if there’s a reaction.
Go Organic
When possible, opt for organic ingredients to avoid pesticides and other chemicals that could irritate your skin.
Be Clean
Use clean bowls and utensils to mix your ingredients to avoid introducing bacteria to your facial mask.
Timing is Everything
Apply your mask to a freshly cleansed face to allow the ingredients to penetrate better. And set a timer; leaving a mask on longer than recommended can sometimes have adverse effects.
DIY Facial Mask Recipes for Every Skin Concern
Let’s dive into some recipes designed for various skin concerns:
For Hydration: Avocado & Honey Mask
Ingredients:
- ½ ripe avocado
- 1 tablespoon of honey
Mash the avocado in a bowl and mix in the honey until you have a smooth paste. Apply to your face for 15-20 minutes and rinse off with warm water.
For Exfoliation: Yogurt & Oatmeal Mask
Ingredients:
- 2 tablespoons of plain yogurt
- 1 tablespoon of finely-ground oatmeal
- A few drops of honey (optional)
Mix the yogurt and oatmeal to form a paste. Apply and leave it on for 10-15 minutes, then gently massage as you rinse it off to exfoliate.
For Brightening: Lemon & Turmeric Mask
Ingredients:
- 1 tablespoon of plain yogurt
- 1 teaspoon of turmeric powder
- 1 teaspoon of fresh lemon juice
Combine all ingredients and apply the mixture for 10-15 minutes. Be careful with lemon juice, as it can make your skin photosensitive.
For Oily Skin: Clay & Witch Hazel Mask
Ingredients:
- 2 tablespoons of cosmetic clay (like bentonite or kaolin)
- Witch hazel (enough to create a smooth paste)
Mix the clay with witch hazel until creamy. Apply for about 10 minutes. If you feel strong tingling or discomfort, remove it sooner.
For Acne-Prone Skin: Tea Tree Oil & Aloe Vera Mask
Ingredients:
- 2 tablespoons of aloe vera gel
- 2-3 drops of tea tree oil
Mix both ingredients and dab the mixture on problem areas or over the entire face, avoiding the eye area. Leave for 10-20 minutes and rinse off.
Post-Mask Care
After you’ve pampered your skin with a homemade mask, follow up with the rest of your skincare regimen:
- Rinse: Remove the mask with lukewarm water; harsh scrubbing is unnecessary.
- Tone: Use a toner to remove lingering particles and balance the skin’s pH.
- Moisturize: Seal in the benefits with your favorite serum or moisturizer.
- Patience: Natural remedies may take longer to show results, so consistency is key.
Conclusion
Whether you’re seeking to hydrate, exfoliate, brighten, or tackle acne, homemade facial masks can provide an effective and luxurious alternative to commercial products. Remember to choose your ingredients wisely based on your skin type and concerns, and relish in the process of creating and applying your concoctions. With some experimentation and regular application, your homemade masks can help you achieve that sought-after glow, naturally and affordably.
Keep in mind that while homemade remedies can be wonderful for your skin, they’re not substitutes for a dermatologist’s expert advice, especially for persistent or severe skin issues. Otherwise, enjoy the creative and wholesome process of homemade skincare, and watch as your skin thanks you for the natural nourishment and care.